

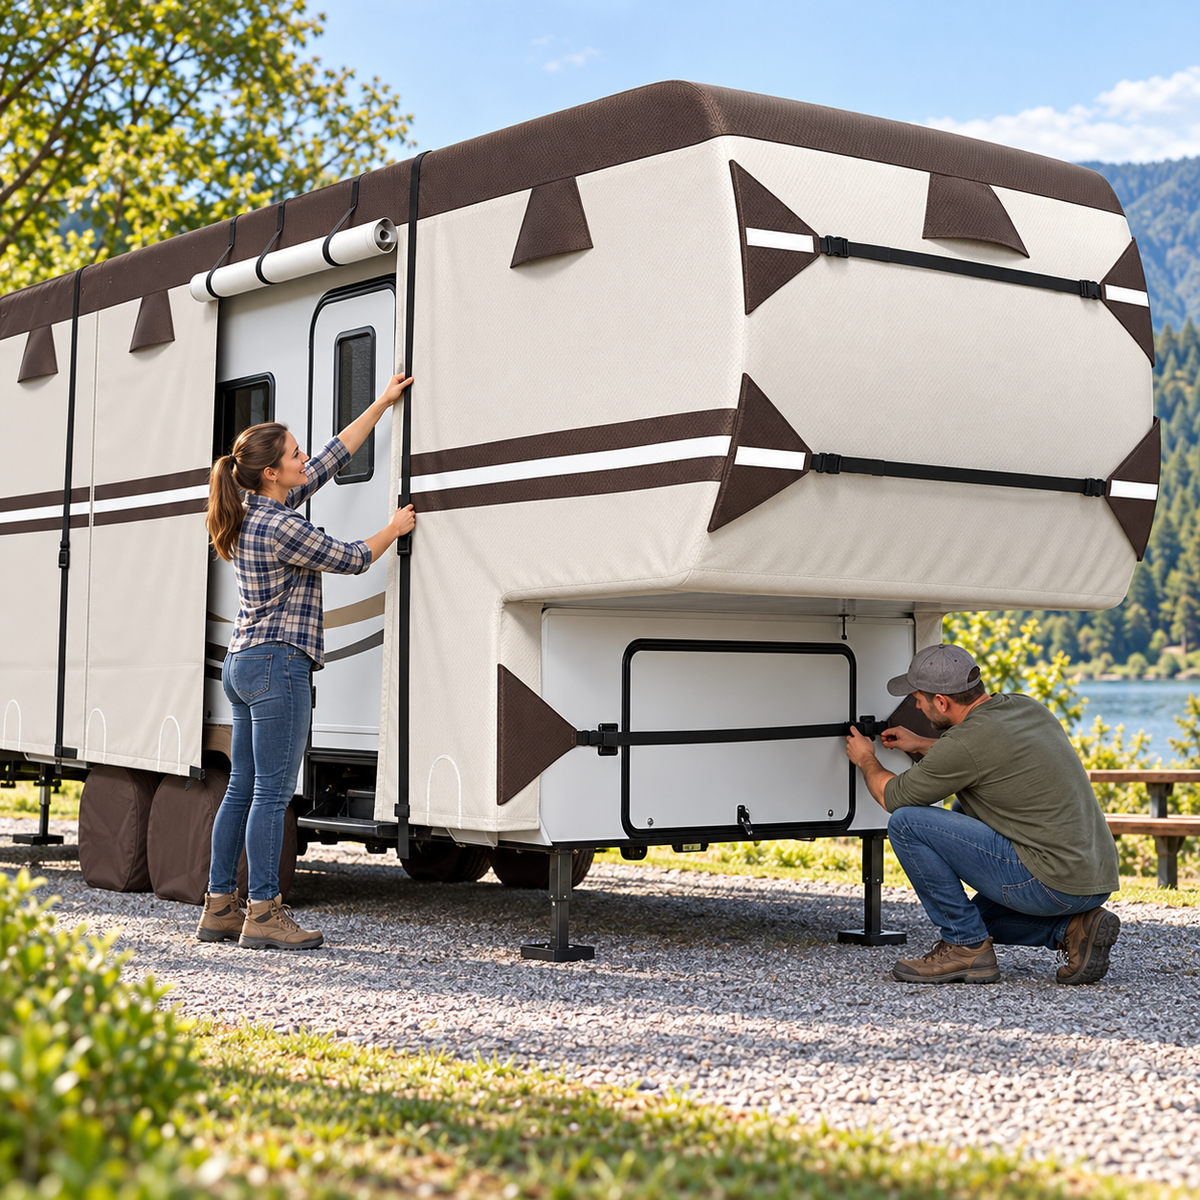
Installing an RV cover properly is essential for preventing wind damage, fabric wear, and moisture buildup. With a little preparation, the process can be completed safely and efficiently.
Prepare the RV
Clean and dry the exterior before covering it. Remove loose dirt, leaves, and debris that could scratch the surface. Retract antennas and awnings, and cover sharp corners or protruding accessories with protective padding.
Position the Cover
Identify the front and rear labels before unfolding the cover. Place it on the roof and gradually unroll it toward both ends. Lower the side panels carefully instead of pulling them across sharp edges.
For safety, avoid installing the cover in strong winds or on wet, slippery surfaces.
Adjust the Fit
Align the cover with the roof, front panel, rear panel, and wheel areas. Make sure the fabric is evenly distributed and not stretched excessively around corners.
Fasten the straps underneath the RV and tighten them gradually. The cover should feel secure without being overly tight. Use the front and rear tensioning panels to reduce loose fabric.
Check It Regularly
Inspect the cover after storms or periods of high wind. Retighten loose straps and make sure water or snow is not accumulating on the roof.
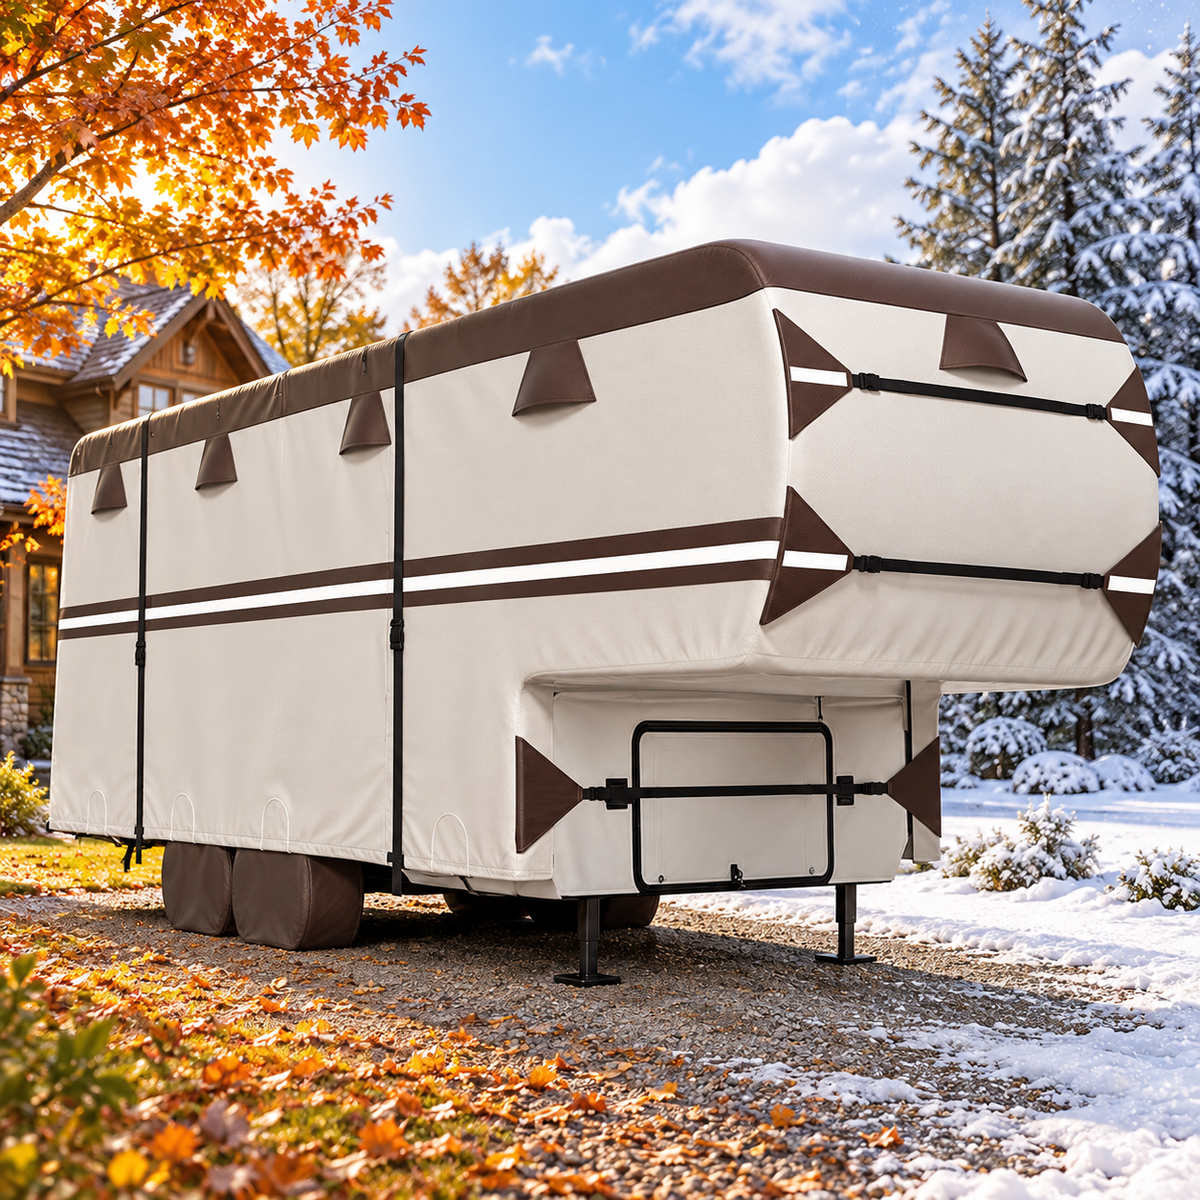
Correct installation reduces movement, protects reinforced seams, and helps the cover perform reliably throughout the storage season.

Leave a comment
This site is protected by hCaptcha and the hCaptcha Privacy Policy and Terms of Service apply.